Just about every website uses Google Analytics to track visitors. It’s important for improving your website by analyzing site visitor behavior.
Find out how to add Google Analytics to your WordPress website.Click To Tweet
For those that are not sure what Google Analytics is, or how to monitor site behavior, have no fear. I am here to detail all of this for you.
As an added bonus, I am going to show you how to add Google Analytics to your WordPress website so you can get in on the action and start making your website better from the ground up.
What is Google Analytics and Why Should You Care?

Google Analytics is a free website tracking service designed to give you statistics about website traffic, conversions, user behavior, and more.
For instance, here are some of the things Google Analytics tracks:
- Pageviews. The number of individual pages any site visitor clicks on during their session.
- Sessions. The number of unique site visitors that come to your website.
- Session Duration and Pages Per Session. How long a site visitor stays on your website before leaving and how many web pages they visited during their session.
- Traffic Source. The origin of your site visitors – organic search (SEO), paid search, social media, referrals (aka backlinks), and direct traffic.
- Goals or Conversions. How many site visitors complete a specific action on your website (e.g. how many people subscribed to your newsletter).
- Bounce Rate. How many site visitors come to one webpage on your website and immediately leave.
In addition, Google Analytics incorporates into their service an intuitive dashboard, complete with all of your site’s metrics, segmentation capabilities for analyzing groups, custom reports for managing specific metrics, email-based sharing and communication ability, and integration with other Google products like AdWords.
Why You Should Use Google Analytics
Google Analytics serves as a useful digital marketing tool for monitoring how effective your online marketing strategies are, what type of content your target audience is drawn to, what pages may be affecting your site’s bounce rates, how your website is performing, and what the overall user experience is like for site visitors.
In short, Google Analytics measures:
- Who. Who visits your website, where are they located geographically, and what are the general demographics?
- What. Once on your website, what do site visitors do, how long do they stay, and when do they leave?
- Where. Where are the majority of your site visitors coming from? Google search results, Google paid ads, social media networks, other websites, and direct visits are the top places.
- When. When are site visitors most likely to visit your website in terms of days of the week, times of day, etc.
- Why. Find out why site visitors bounce when they do. Or, why your email list not converting? Lastly, why are people not interacting with your webpages?
By answering these key questions, you can dramatically increase your chances of growth and success.
Adding Google Analytics to Your WordPress Website
Step1: Sign Up With Google Analytics
The first step in adding Google Analytics to your WordPress website is to get a Google Analytics account.
To do this, visit the Google Analytics sign up page. If you already have a Google Account, simply sign in. If you don’t, you will have to create an account to continue.
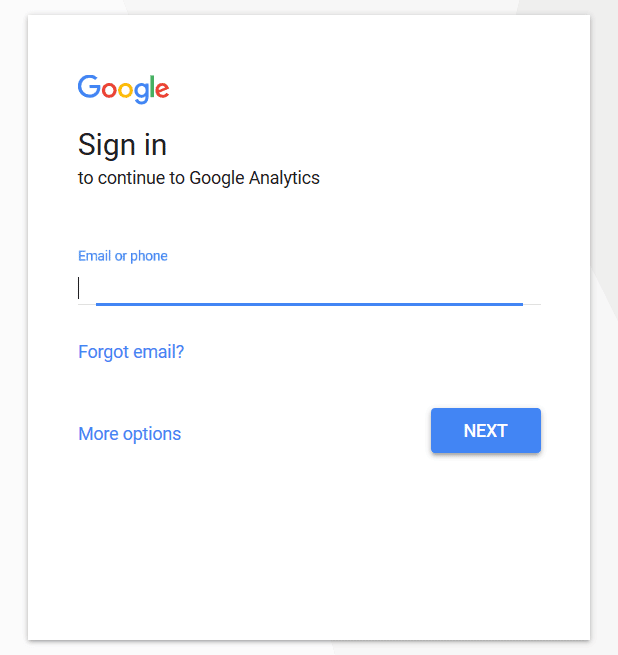
Step 2: Set Up Google Analytics
After you have a Google Account, simply login. You will then see a screen promoting you to sign up for Google Analytics. Follow the steps by first clicking on Sign up.
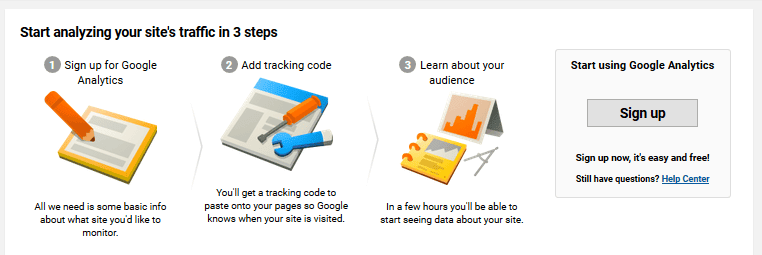
On the next screen, you will have the choice of what to track. Be sure to click on Website.

From there, enter your account information – Account Name, Website Name, Website URL, Industry Category, Country, and Time Zone.
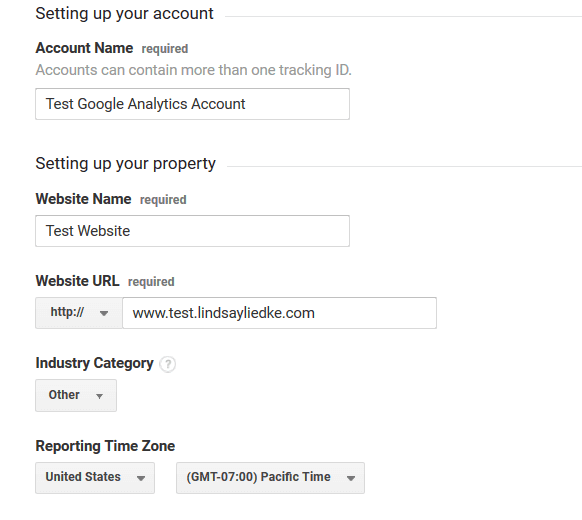
Next, simply scroll to the bottom and select Get Tracking ID. Agree to the Google Analytics Terms of Service to continue.
Step 3: Get the Tracking ID
After accepting the terms of service, you will see a screen that has your Google Analytics tracking code.
![]()
This is the code you will copy and paste into your WordPress website, depending on the method you choose to use.
Step 4: Add Google Analytics to Your Website
Now that you have your Google Analytics Tracking ID ready, it is time to add Google Analytics to your website.
Though there are many different ways of doing this, I am going to use one of the most popular methods using a WordPress plugin called MonsterInsights.
What is MonsterInsights?

MonsterInsights is the most popular Google Analytics plugin for WordPress. With 1 million active installs, it has become the go-to plugin for adding Google Anlaytics to any WordPress website with ease.
In fact, it has a quick and easy setup that allows you to see your website’s statistics in the admin section of your WordPress dashboard, all in real-time.
Step 5: Install and Activate MonsterInsights
Navigate to Plugins > Add New and search for MonsterInsights.
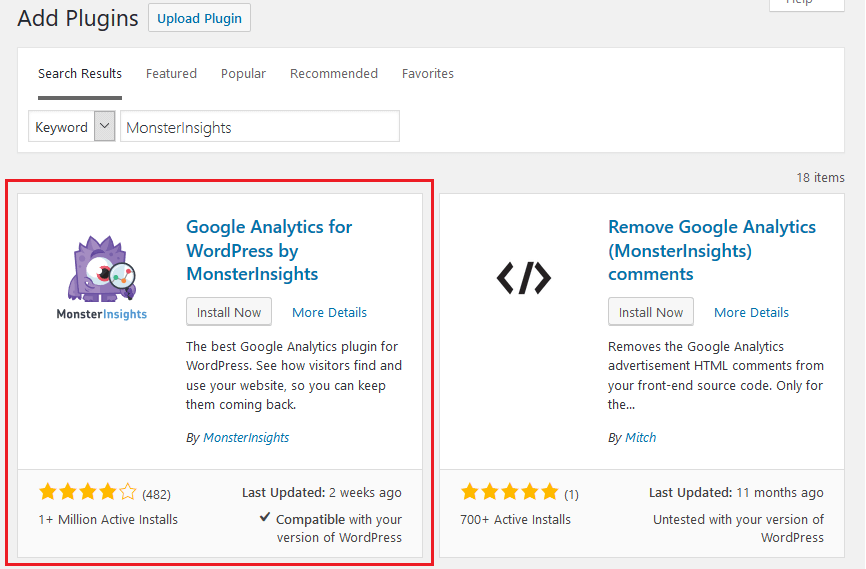
Click on Install Now and then Activate.
Step 6: Configure MonsterInsights
To configure your plugin, navigate to Insights > Settings. Next click on the button to authenticate your Google Account.
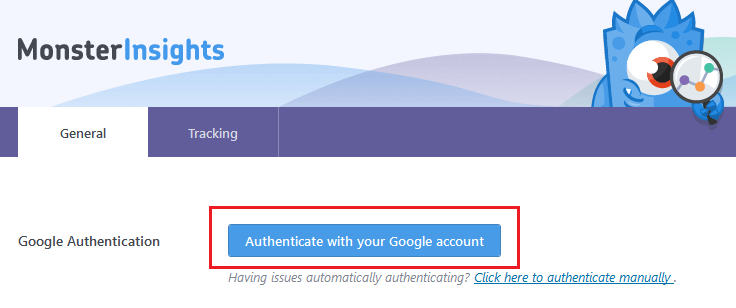
You will then see a screen for authentication:

Click Next to continue. Then, click on Click to Get Google Code.
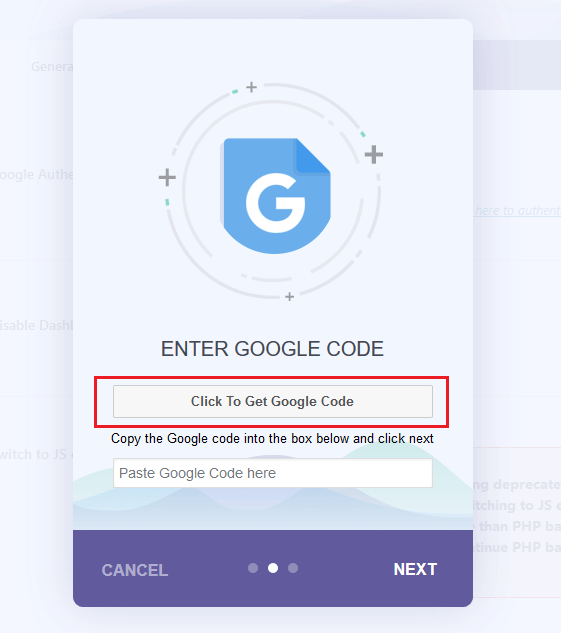
You will see a popup prompting you to log into the associated Google Account for your website. Login, and then select Allow so MonsterInsights can access your Google Analytics data.
You will then see your Google code.
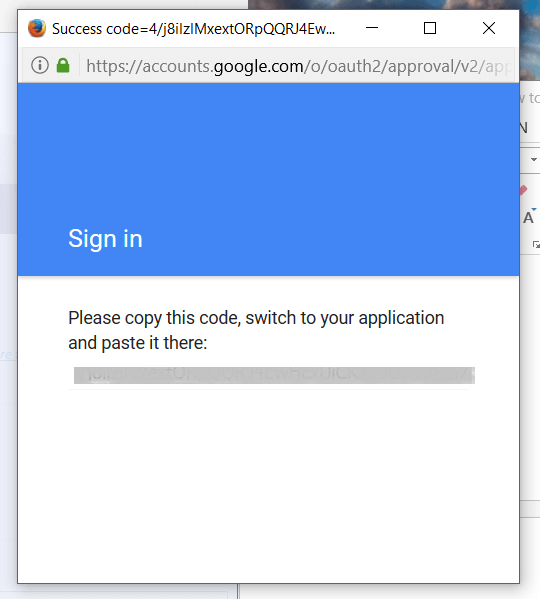
Cut and paste it into the Google code section on your website. Select Next. From there, choose the website profile you would like to add Google Analytics to from the dropdown menu. This is really only important if you have multiple websites associated with your Google Account.
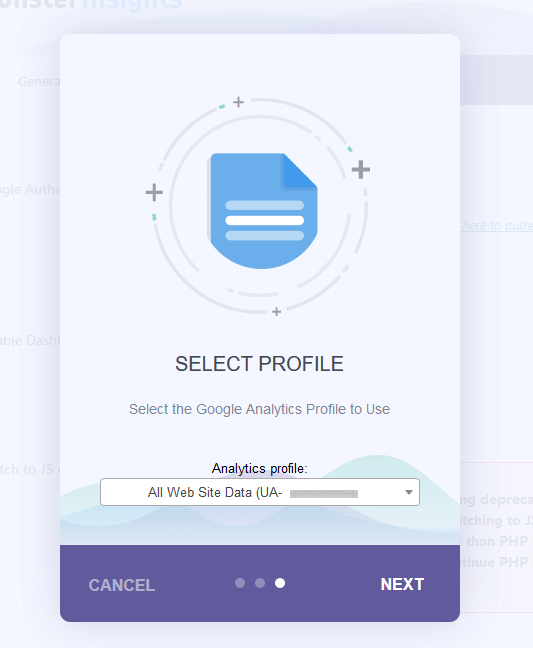
Again, click on Next.
When you have followed all of the steps successfully, you will see a Done screen:
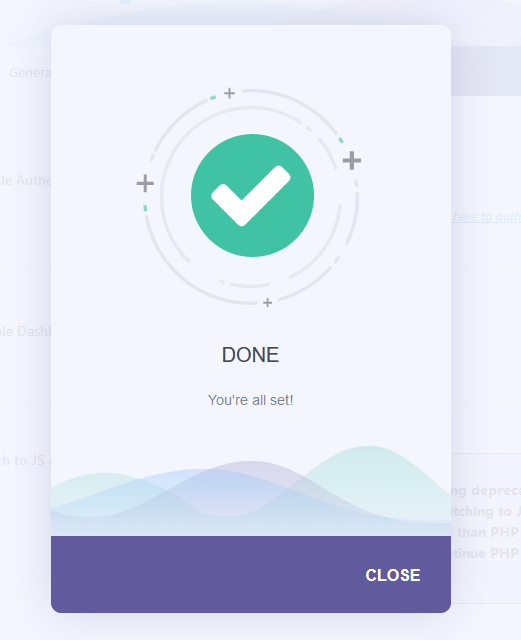
And that’s it. Now you have Google Analytics added to your website.
Remember, it will take Google Analytics some time (approximately 24-48 hours) to start collecting solid data regarding your website.
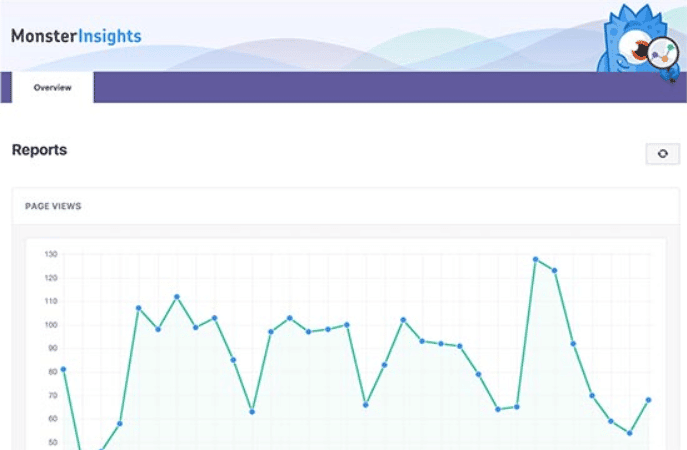
However, once this happens, you will be able to access that data directly from your WordPress dashboard. Simply navigate to Insights > Reports.
It will look something like this:
Final Thoughts
Altogether, adding Google Analytics to your WordPress website is very easy using the MonsterInsights plugin. And, since it is free to use, and is relied upon by so many WordPress users, there is very little risk in doing so.
The convenience of having the most important metrics regarding site visitors behavior in your website in your WordPress dashboard is unbeatable. You can easily track how you website is doing and make changes right then and there.
So, check it out and give it a try. You may be surprised to learn the things that are doing well, and the things that need improvement.

© DomainNameWire.com 2017. This is copyrighted content. Domain Name Wire full-text RSS feeds are made available for personal use only, and may not be published on any site without permission. If you see this message on a website, contact copyright (at) domainnamewire.com.
Latest domain news at DNW.com: Domain Name Wire.
The post How to Add Google Analytics to Your WordPress Website appeared first on Domain Name Wire | Domain Name News & Website Stuff.
Related posts:
Go to Source
Author: Lindsay Liedke


